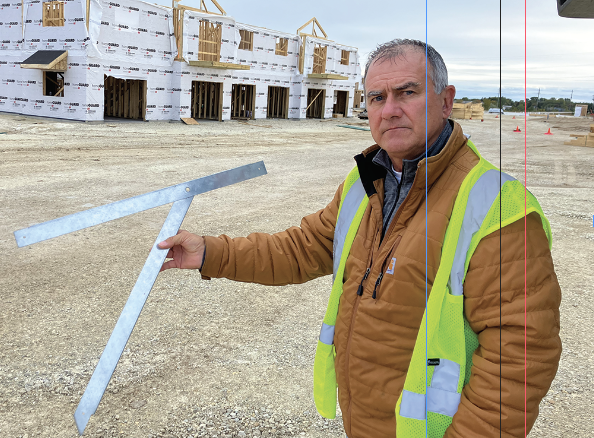
Steven Szymanski had been working in construction for decades, much of it at truss companies, including his own company in Wisconsin, and he knew there had to be a better way to quickly and safely set roof trusses.
He and his team at Truss Systems in Little Chute, Wisconsin, started working on their idea five years ago. They went through all of the required testing, got certified, then partnered with FastenMaster®, which then launched TrussBRACE nationwide.
Frame Building News went to a jobsite in Southeastern Wisconsin to see the new product in action. We met there with Szymanski and Product Manager Charles Emma. The framing team on site was led by Nate Fischer of Steve Fischer Construction (Steve is his father). Nate Fischer told us he loves the time efficiency “and they’re way safer than how we normally do it.”
Emma said working with builders like Fischer to truly learn their challenges and pain points is how FastenMaster identifies its new product lines. “At FastenMaster we’re dedicated to developing and delivering products that increase productivity and safety on the jobsite,” he said. “Our products help PROs get the job done faster and safer. TrussBRACE delivers on that mission and we’re very excited to be partnered with Steve as we bring the product to builders across the country.”
The Traditional Way
The usual way of holding a truss in place until the roof sheathing is added is to cut 2×4 pieces to either 2 feet long or 4 feet long. Industry best practices suggest cutting these wood blocks such that they extend beyond each truss. This way the nail is not installed too close to the end of the board. Often framers use 25-1/2″ wooden blocks nailed to the top chord of the trusses.
“If your trusses are 2 foot on center, the edge of the 2×4 will flush out with the truss,” Szymanski said. “The problem is that when the wooden block is cut at 25-1/2″ and flush with the edge of the truss, the nail will be installed just three-quarters of an inch from the end of that block. Framers often don’t realize how dangerous that is. It doesn’t take much for that wood to split and pull that nail right out. In fact, industry best practices recommend extending the wooden braces well beyond the edge of the truss and using two nails per connection. More often than not, we’re finding framers are using just one nail at each end of that wooden block.”
There are a number of additional challenges with the traditional method. First, somebody must cut all those 2×4 pieces, plus that is more wood used that eventually gets removed and thrown into a dumpster. Second, continuous diagonal bracing has to be installed on the top chords to prevent racking (the whole truss set tipping over like dominoes).
“Without sufficient diagonal support, the trusses may be tied together, but there’s nothing to prevent the whole set from tipping,” Emma said. “It’s a lot like assembling one of those bookshelves you can order online. As you put it together it will stand up on its own, but go ahead and lean on one side of it before installing the panel on the back. The whole thing will rack and tip over. That panel acts like sheathing and prevents the bookshelf from tipping over when you lean on the side of it. The diagonal support in TrussBRACE does essentially the same thing.”
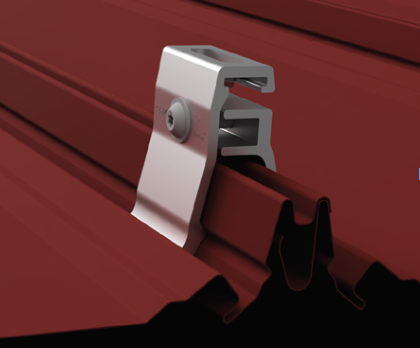
Framers “get it” as soon as they see a picture of the product. It’s a metal piece that creates 90-degree angles with almost no chance for error while aligning trusses during a set. TrussBRACE spaces out the trusses at exactly 24″ on center and the diagonal support holds each truss secure. By spacing and bracing in one step, TrussBRACE eliminates almost all of the wood diagonal bracing in the truss set.
Obviously this product doesn’t work in truss sets that are farther apart than 2 feet, like you would see in post-frame construction.

How Does a Truss Work?
Szymanski is not an engineer, but he and his team understand enough about trusses to start the process of creating a solution. In short, a truss is a lot of triangles, which as even non-engineers know is the strongest shape. “And that was also my thought behind the TrussBRACE because we are building triangles,” Szymanski said.
The next key is the metal plates that hold those triangles together. “There are different-sized plates for different joints, to hold the stress,” he said. “We are loading a roof truss for vertical loads. In this case, we’re in Wisconsin — we have snow loads, we have dead loads (the truss itself, the roof sheathing, shingles, sheetrock, etc.) When you load a truss, that force gets distributed throughout the members and hopefully down to the foundation. That’s our load path.
“Different parts of the truss are going to be subjected to different stresses. Top chords are almost always going to be in compression force. Bottom chords almost always are going to be in tension, and how that load gets transferred to the bearing, they’re going to go through these webs to the bearing and you’re going to have compression forces and tension forces. The job of the plate is to keep that amount of force (where it belongs either in tension or compression).”
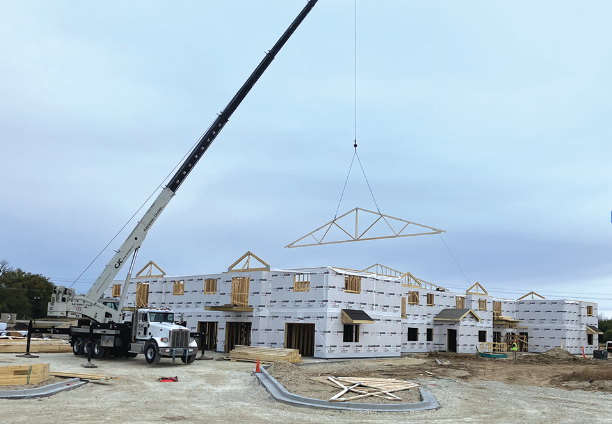
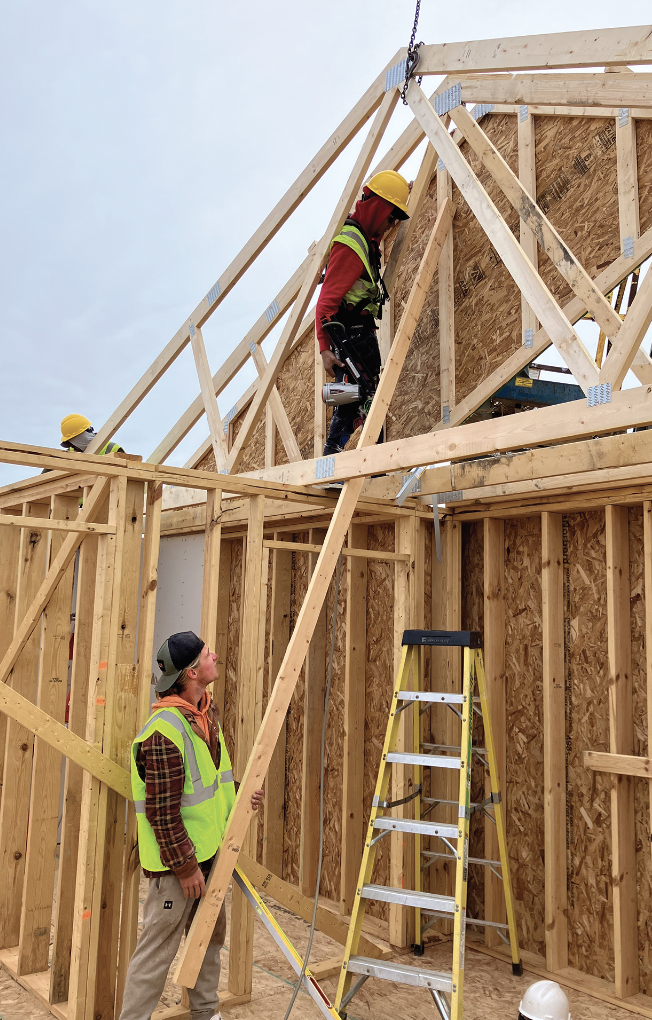
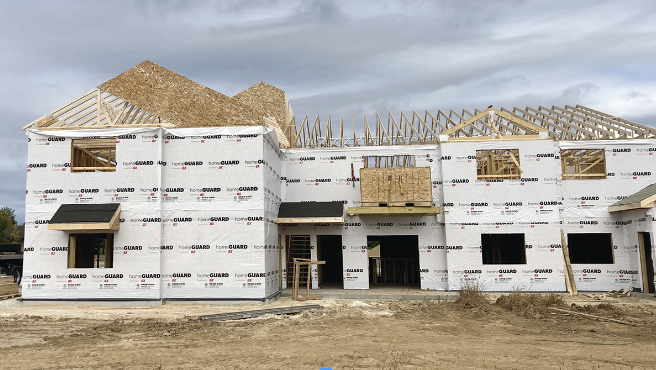
This truss set took four hours, two hours less than typical.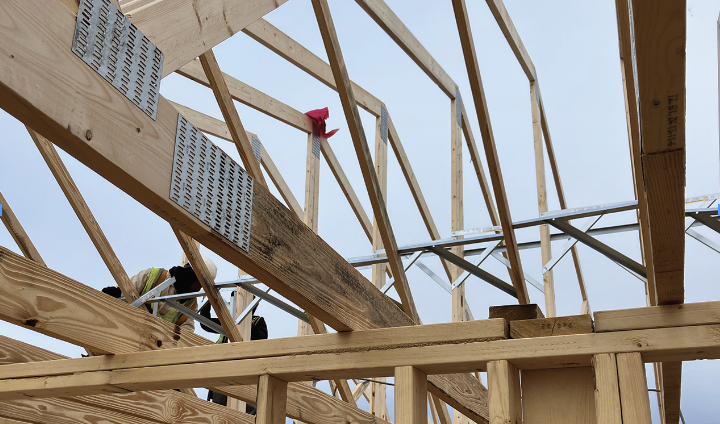
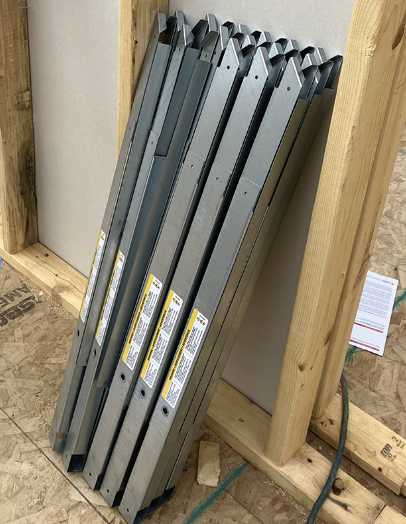
For shipping, handling and storage, the angled leg of a TrussBRACE can be folded flat.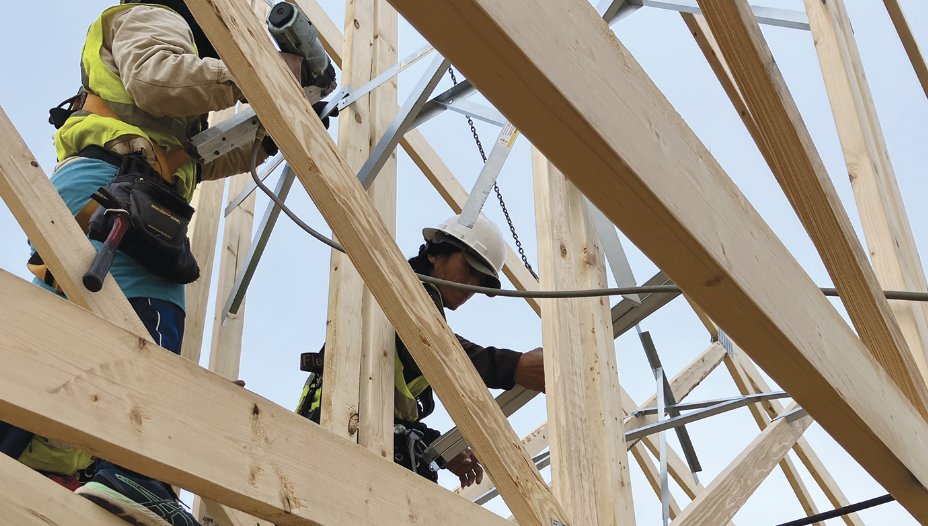
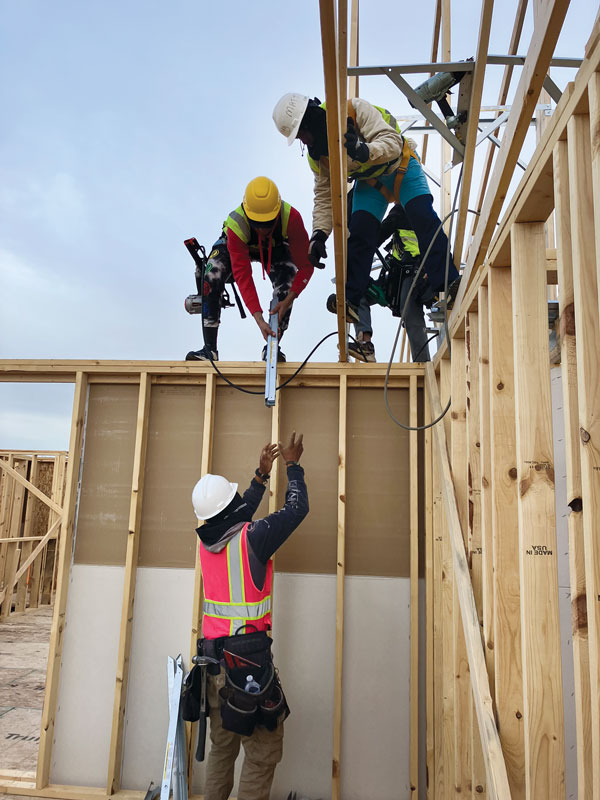
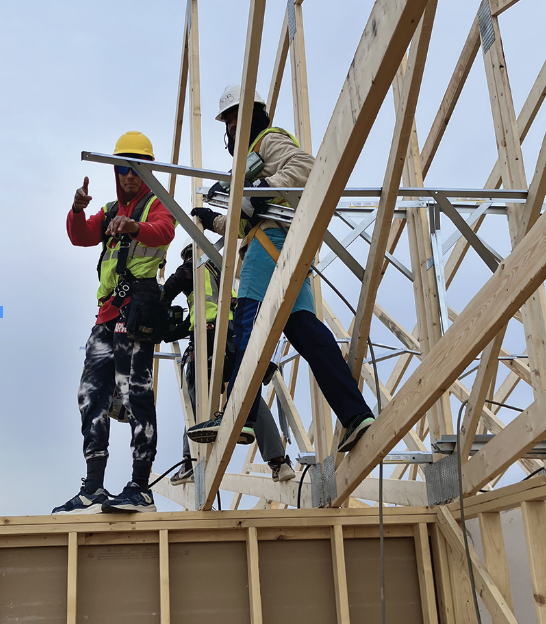
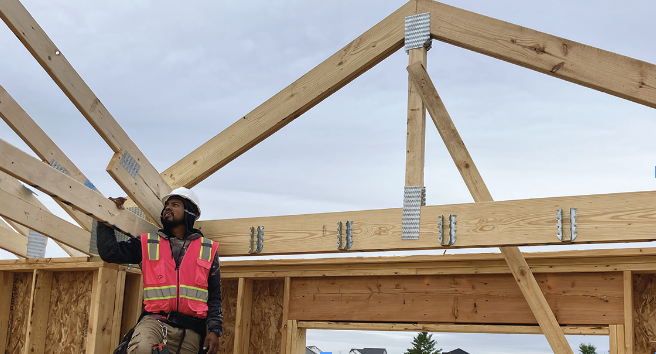
Workers setting trusses only from the bottom chord.
Adding the TrussBRACE before the next truss is placed saves time.
Safety Matters
Besides time, safety obviously matters, and it’s inherently risky to climb on top of the top chord of a truss.
Safety was actually the genesis of this idea. Szymanski was at the Building Component Manufacturers Conference & Framing Summit in 2017, where the topic of holding the trusses together safely (without having to climb on top) was discussed. “They showed ways of temporarily bracing them safely without having to go on the top chords, but nothing ever became of that,” Szymanski said. “So that was kind of my drive.”
There were, and still are, truss supports on the market that help framers keep the trusses in place. “I used those products with my truss company, and they’re good products, but they don’t have a diagonal, so the trusses can still domino,” Szymanski said. “I asked the companies to make an angled bracket, and they never did. So I did.”
One builder told us that “it definitely cut our time down, like cutting blocks. It helps keep our 24″ spacing. And they’re really sturdy; it makes me more comfortable climbing the trusses with them up there. It’s eliminating the laterals so it’s going to save time in the long run, as well.”
Time Savings
Changing the way you’ve done something for decades isn’t going to happen overnight.
The project pictured in this article took about four hours, two hours less than would have been typical. “We did a time study and they cut almost two hours off their crane set because they would set eight trusses and stop the crane, and it would take them 15 to 30 minutes to go back on the roof and put the rest of the temporary bracing on top of there,” Szymanski said. And as you know if you’ve ever rented one, cranes are typically $300-$350 an hour.
And it’s not just about speed on-site; it’s about not needing to revisit the site, sometimes days or weeks later. “They save anywhere from 30 to 45 man-hours, just for setting the trusses, plus the [2×4] material, plus the crane,” Szymanski said.
What percentage of time does it save? Szymanski estimates 25-35%. FastenMaster’s Emma says their estimates are that the method lowers overall costs by 20%.
Szymanski said that with the early customers, TrussBRACE has typically been included with the truss package; the GC will typically pay for it, and it will come to the framer as part of the truss package.
Truss companies will also want to be aware of this product, because if crews are using it, it might lead to slight changes in the production process for the truss itself. The companies Szymanski has worked with so far have made slight tweaks to their trusses if this is going to be used. “You need think about how you’re designing your trusses,” Szymanski said. “You want to think big picture. How does it help the GC and the framing contractor, to make it as efficient as possible in the field?”
Testing the Results
Is the TrussBRACE a permanent and structural brace? Trusses require two types of bracing. Temporary bracing is used to prevent the truss from tipping over during construction. Permanent bracing is called out by the truss designer as required to prevent individual webs from buckling when subject to high loads. “TrussBRACE is a temporary roof truss brace that is strong enough to be used as a permanent brace as well,” Emma said. “Depending on the permanent bracing requirements, it may make sense to use TrussBRACE in those locations during construction so workers get a 2-for-1 benefit. “

TrussBRACE was tested and certified to meet that lateral requirement. “With the TrussBRACE, they’re saving that entire step and all of that material,” Szymanski said. “They are applying the brace on the webs, as they’re setting, so it’s acting as temporary bracing, but it’s also satisfying that requirement of the permanent reinforcement.”
The Bottom Line
If there was something wrong with the traditional framing methods, wouldn’t we collectively have noticed before? FastenMaster and Szymanski have been working to increase attention on the time that can be saved and how that can impact the bottom line for contractors.
“Why did you get a nail gun even though it was more expensive than a hammer?” Szymanski said. “Because you became that much more efficient. You spent more money to be more efficient. Even if you break even on a job site, spending more dollars on materials and less on labor, you now have that next hour to move onto the next task.” RB