Originally Published as: How to Photograph Your Project Like a Pro: A Builder’s Guide to Submitting Photos for
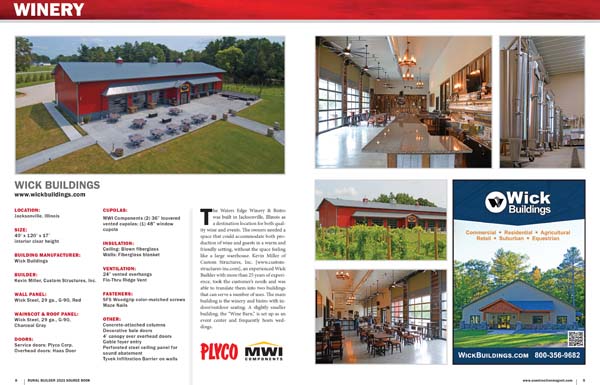
Project of the Month and the Source Book
Why Photos Matter So Much
Remember: editors and judges never see your building in person — they see your photos. Treat your photos as the entire pitch for your work, because a well-built project can be overlooked when photos are dark, cluttered, or taken from an odd angle, while a modest project can shine when it is photographed well.
General Rules That Apply to Any Camera
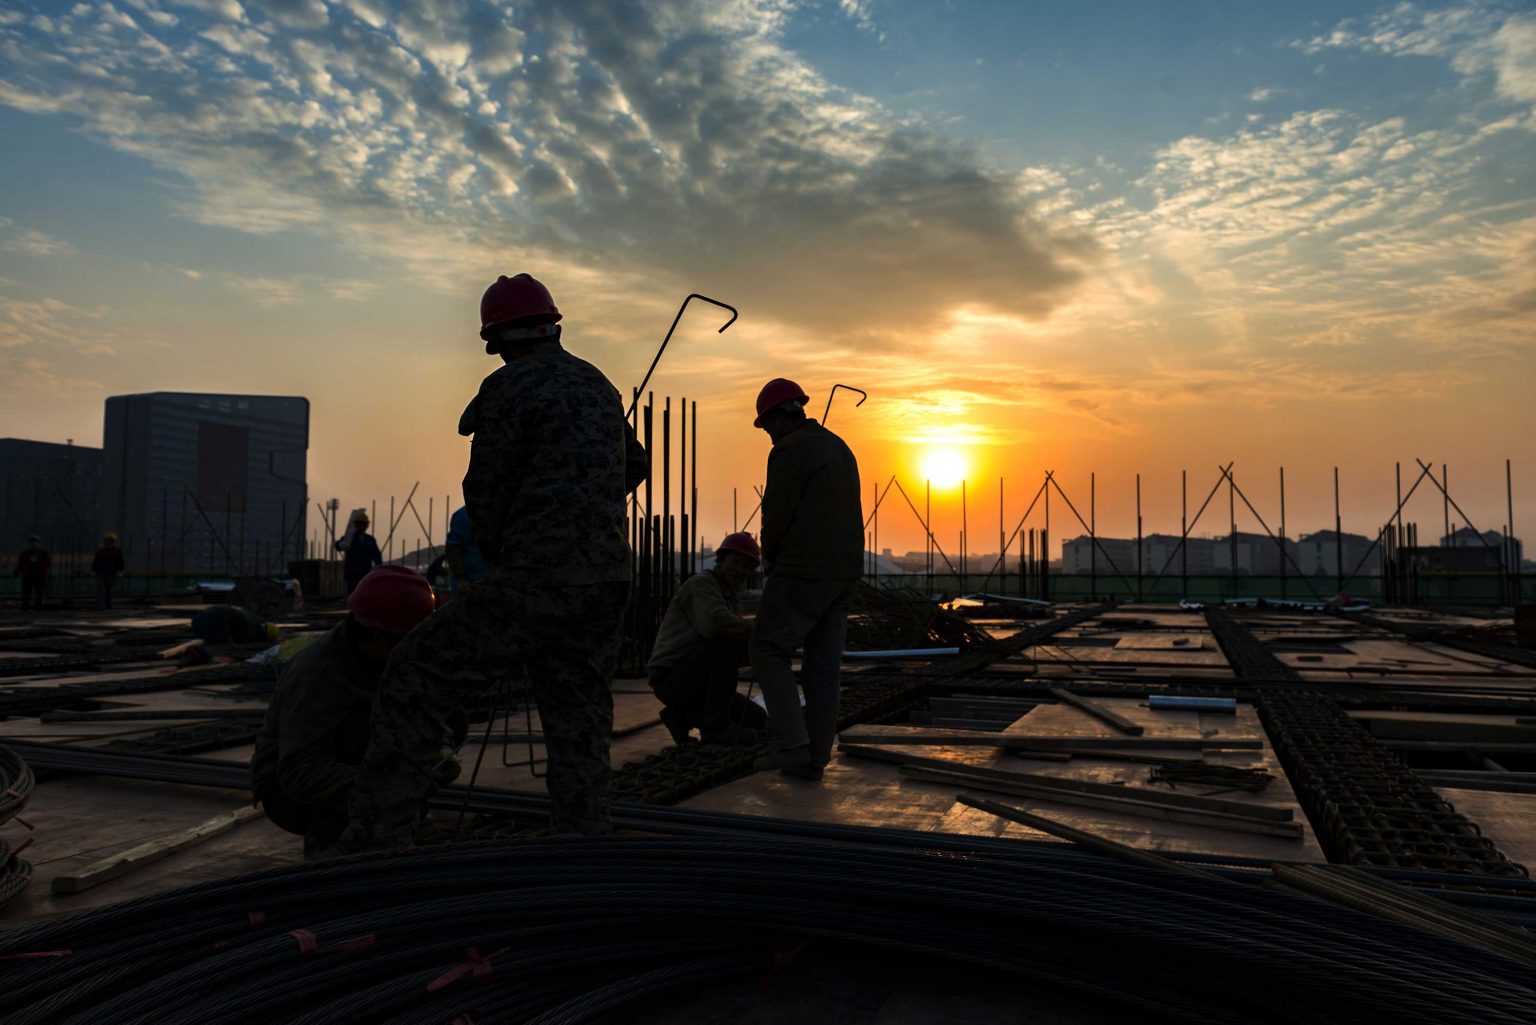
• Shoot in good light. Golden hour — the first hour after sunrise and the last hour before sunset — provides soft, flattering light while avoiding harsh shadows and blown-out skies. Overcast days are also great; the clouds act like a giant softbox. Avoid direct, high sunlight if you can help it.

• Clean up the site first. Move trucks, trailers, scrap material, trash cans, hoses, and equipment out of the frame. Keep the site tidy, so it reads as a professional job.
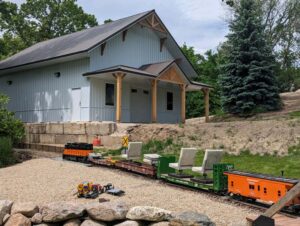
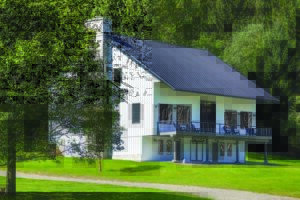
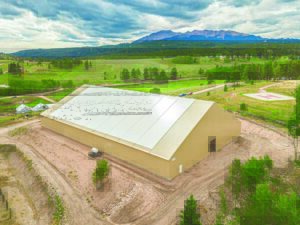
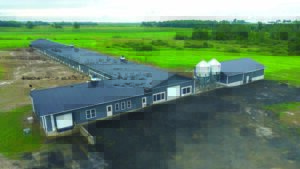
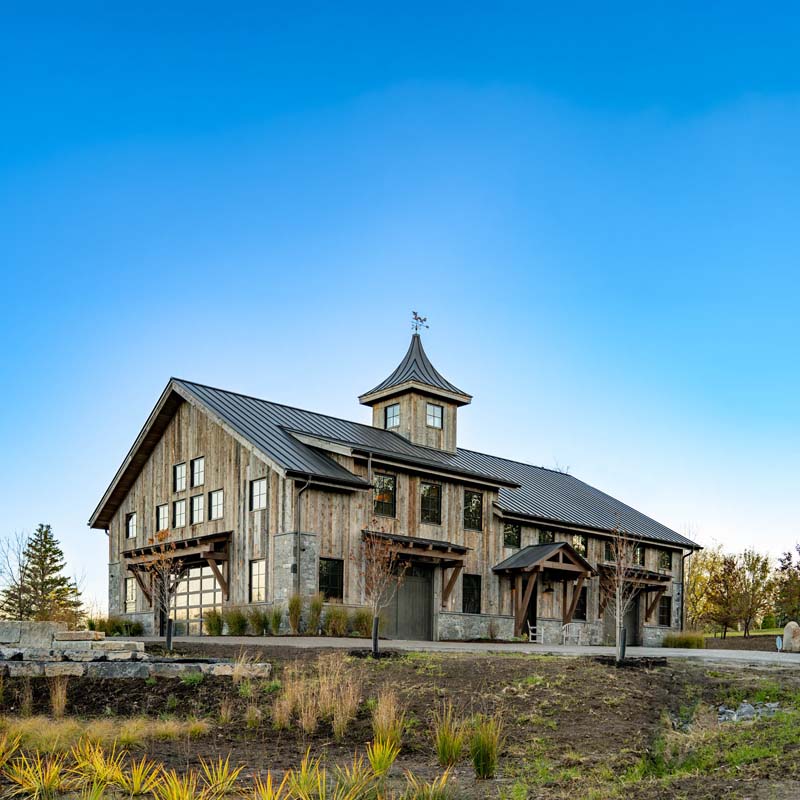
• Shoot the exterior from an angle, not straight on. A three-quarter view — showing two sides of the building — gives depth and dimension. A dead-on, flat shot looks like a mugshot of a building.
• Include a sense of scale. A truck, a person, or an open door in the frame helps the viewer understand how large the structure really is.
• Get the whole building in frame. Back up, use a wider lens, or shoot from a slight rise if you have one nearby. Don’t crop off the roofline or corners.
• Shoot horizontally, not vertically. Magazines and web features are almost always laid out horizontally, and vertical phone photos are often cropped awkwardly or are unusable.
• Capture the details, not just the whole building. Trim work, door hardware, interior trusses, and unique rooflines tell the story of the craftsmanship that the wide shot can’t.
• Document the build, not just the finished product. Take a few in-progress shots — foundation, framing, enclosure — to add credibility, and include them when feature articles request them.
• Finally, shoot more than you think you need. Take 20–30 photos per project and let the editor pick the best ones, rather than sending three or four you like.
Shooting With an iPhone
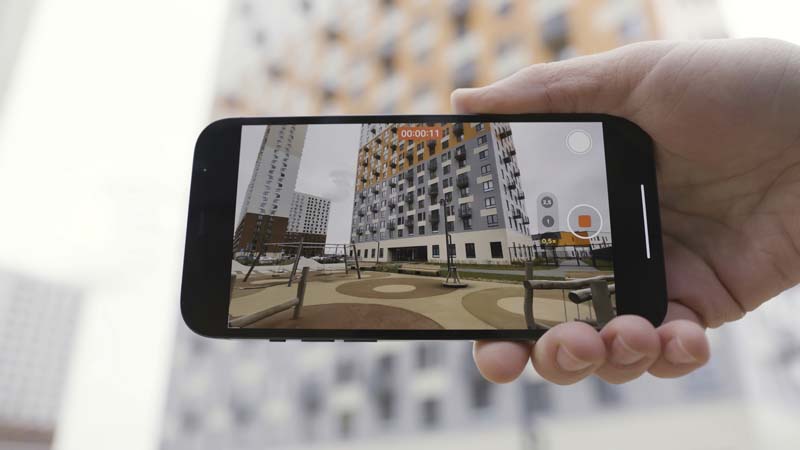
•Use the native Camera app, not a third-party app, for the best image quality and full-resolution files.
• Turn on the grid in Settings > Camera > Grid, and use it to line up the horizon and building edges. Crooked horizons are one of the most common amateur mistakes.
• Tap the building itself, not the sky, to set focus and exposure. This tells the phone to expose the structure rather than the clouds.
• Avoid digital zoom. Walk closer instead of pinching to zoom — zooming digitally softens the image badly. If your iPhone has a second “1x/2x” optical-quality lens, that’s fine to use.
• Turn off Live Photos on iPhone for submission shots; it is unnecessary and bloats the file size.
• Keep HDR on on iPhone; it helps balance the bright sky against the shaded front of the building. It is automatic on most modern iPhones.
• Wipe the iPhone lens. A smudge from a pocket or a dusty job site is the single most common reason phone photos look soft.
• Email the originals or use AirDrop/a file-transfer link instead. When sending photos through iMessage or group texts, they are heavily compressed. Export at full size.
Shooting With an Android Phone
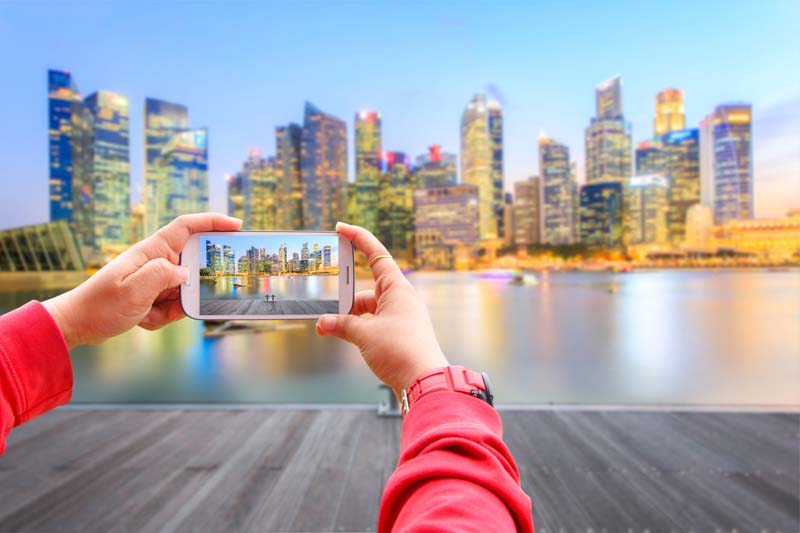
• Use the built-in Android camera app in its standard photo mode, rather than Night mode or heavy beauty or AI filters, which can over-process the image.
• Turn on the grid overlay in your Android camera settings to help keep the building level and square in the frame.
• On Android, tap the building to set focus and exposure, just like on an iPhone. Most Android camera apps support this with a simple tap-and-hold to lock it.
• Use the main (wide) lens, not the zoom, and physically move closer for tighter shots. Phone zoom lenses are far lower resolution than the main sensor.
• Shoot in the highest resolution setting available on Android. Some Android phones default to a lower resolution to save storage.
• Send full-resolution files from Android. As with the iPhone, standard text messaging apps significantly compress photos, so use email, a cloud folder link (Google Drive or Dropbox), or a USB transfer for submissions.
Shooting With a Dedicated Camera (DSLR / Mirrorless)
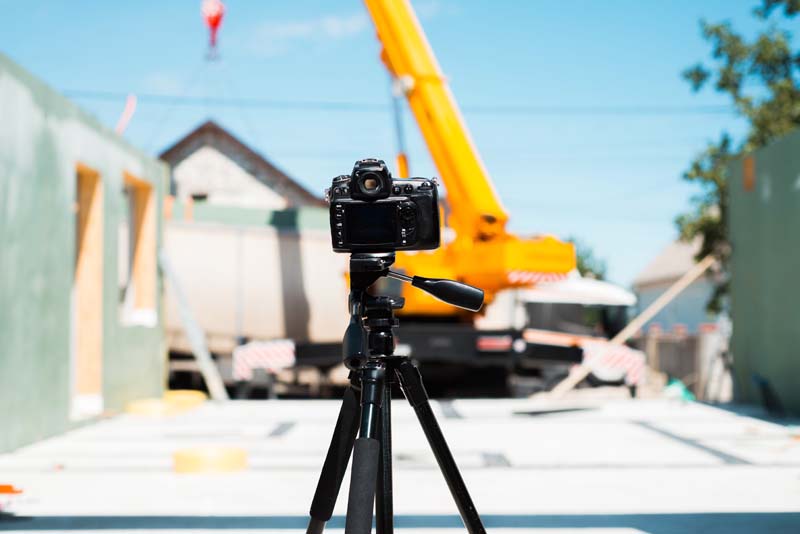
• Use a wide-to-normal lens on a DSLR or mirrorless camera, roughly 16–35mm, for full-building exterior shots, and a normal-to-short-telephoto lens, 35–85mm, for details and portraits of the crew.
• Shoot at a low ISO. Whenever light allows, keep images clean and free of digital noise.
• Use a tripod for interior shots on a DSLR or mirrorless camera. Building interiors are often dim, and a tripod lets you shoot at a low ISO with a slower shutter speed without blur.
• For high-contrast scenes, such as a bright sky and a shaded building facade, bracket exposures and blend or pick the best exposure afterward — or use in-camera HDR if available.
• Watch your horizon and verticals. Keep the camera level; converging vertical lines from tilting the camera up at a tall building are usually undesirable in a straightforward documentary shot.
•Export final images from a DSLR or mirrorless camera as high-resolution JPEGs at or near full resolution in sRGB color space — do not downsize for the web before sending.

Technical Specs for Any Submission
• Aim for at least 3000 pixels on the long edge (roughly 8–12 megapixels or higher). Bigger is fine — we can always size down, but we can’t add resolution that isn’t there.
• Use File format: JPEG (or RAW, if available). Avoid screenshots, PDF exports, or images pulled from a website or social media post — those are heavily compressed and low-resolution.
• Use horizontal (landscape) orientation for most shots; a few verticals are fine as detail or cover-candidate shots. We can usually make a magazine cover from a horizontal shot.
• Do not send photos as a text message thread or embedded in a Word document — both compress images badly. Email the original files or share a cloud folder link.
What to Include in a Project of the Month or Source Book Submission
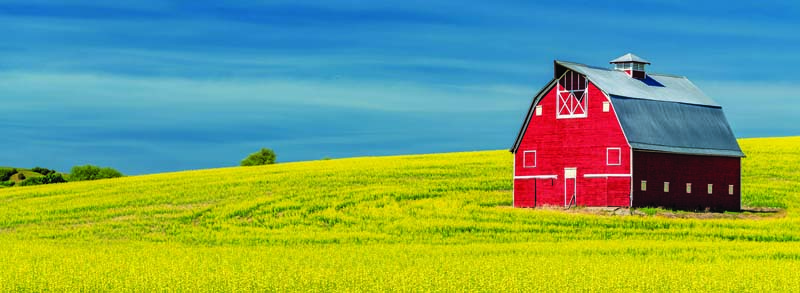
• Include 6–12 exterior shots from different angles and distances, including at least one full-building three-quarter view.
• Include 3–6 interior shots showing the structure, trusses/framing, and any finished interior space.
• Include 2–4 detail shots of standout features — trim, doors, hardware, unique design elements.
• Include 1–2 in-progress or crew shots, if available — these add credibility and human interest. Include a short project description with location (city/state), building size and use, key materials or components, and the builder/company name.
Quick Pre-Submission Checklist

• Keep the site clean and clear of trucks, trash, and equipment.
• Shot during good light — golden hour or overcast, not harsh midday sun
• Keep the horizon and building lines level.
• Keep the entire building in frame, shot at an angle to create depth.
• Mix of wide exterior, interior, and close-up detail shots
• Photos sent at full resolution — not texted or screenshotted
• Include project details — location, size, and builder name — with the photos. RB
Questions about a specific project’s photos before you submit? Send them along to me at [email protected] — I’m happy to take a look and let you know if we need anything different.
A Note From the Editor
I’ve spent decades behind a camera as a professional photographer, and the tips below reflect what makes a photo work — not just industry folklore. Good photos are one of the biggest factors in whether a project gets selected for Project of the Month or featured in our annual Source Book, so it’s worth the extra ten minutes on site to get them right.