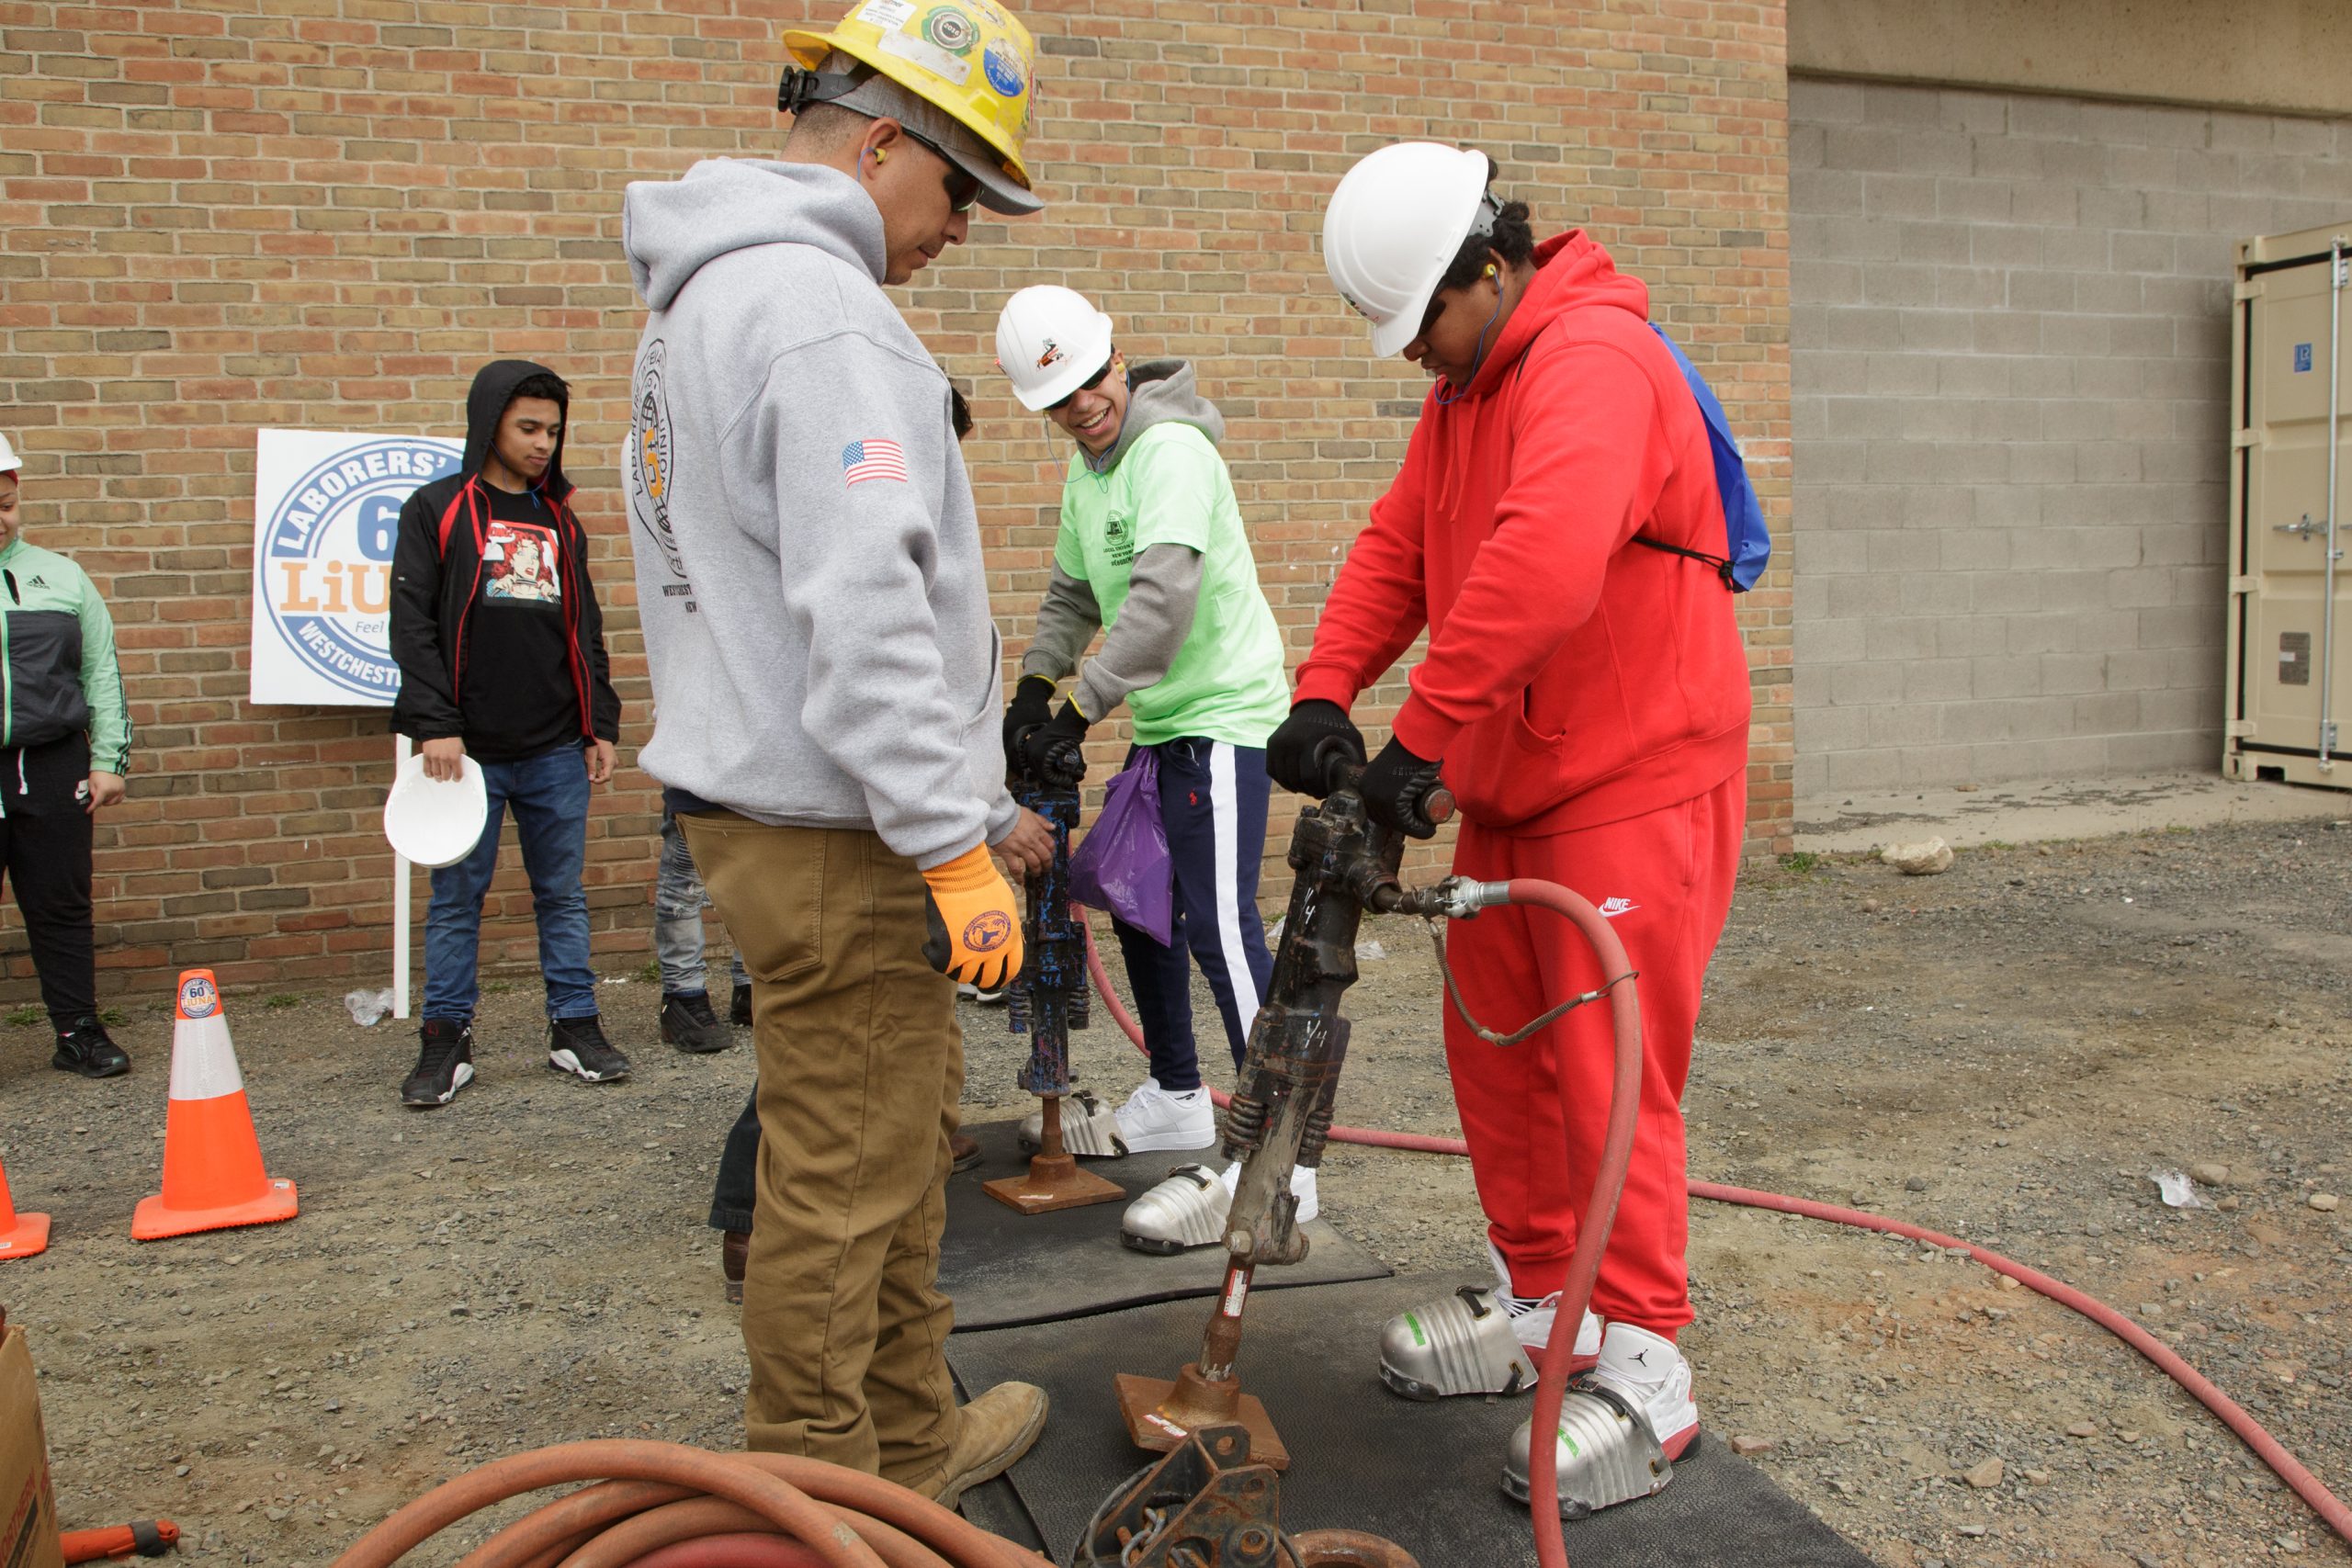
By Linda Schmid
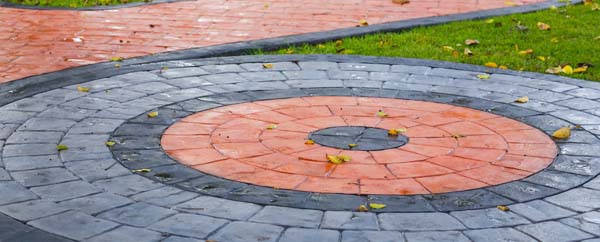
With the Rise in Post-frame construction, some building owners are looking for ways to spice up the concrete floor. Meanwhile home design shows have exposed people to some of the various concrete floors that are possible. However, according to Greg Fox of Hayward Concrete, there aren’t many concrete companies taking advantage of this interest in concrete deco or going beyond the basic stamp and color, like multiple textures and colors, and stamping vertically. “So many people want stamped concrete now, and there are places that rent the stampers out. Stamping concrete takes time, but there is great opportunity out there.”
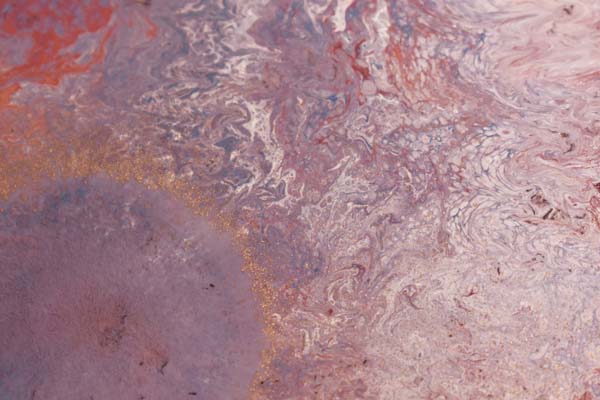
Fox says there are endless decorative options with concrete. Acid-stained concrete, for example, can be one solid color, it can look like wood, or it can resemble marble. “Even with the same techniques and colors, no two floors will end up the same.” It should be noted that there are many ways to achieve various looks. These are the techniques Fox uses most often.
Acid-Stained Concrete
Acid staining occurs after the concrete has been finished, smooth and tight on top. The concrete needs to cure for 30 days. If you do not wait the 30 days and you stain the concrete, the extra moisture in the concrete can affect the stain.
Once the floor is cured, the concrete should be washed and then acid etched. Usually the acid is mixed with 3 parts water to 1 part acid, then sprinkled evenly across the wet concrete. Scrub it into the concrete and let it sit for a few minutes, but keep it wet.
Then a neutralizing solution is applied and allowed to sit for 10 minutes or more. Rinse the concrete or wet vac it. Repeat the rinse to be sure all of the residue is gone. Then stain can be applied. After the application it can be left to set up for up to 12 hours, depending on the look desired. A second layer is added before the floor is sealed to protect it and add shine or sheen.
“Different techniques are used to achieve different looks,” Fox said. “A marbleized effect can be achieved by using 2-4 different colors and swirling them around with a mop. The acid reacts to what is in the concrete, helping to create the pattern. A floor may be marbleized by starting with a color in the concrete, say cream, then acid staining with yellow and following that up with brown.” Fox sprays it back and forth across the floor, layers the colors, then swirls through them with a mop.
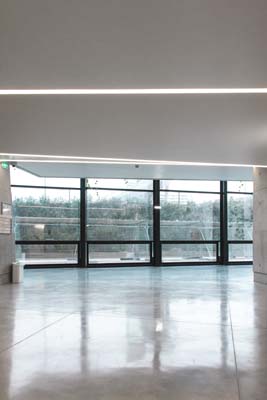
If an extremely smooth, flat floor is desired, the concrete can be “burned.” This means “burnishing,” or melting a coating into the surface with a power trowel. This leaves behind a smooth surface that you can buff to a glassy finish.
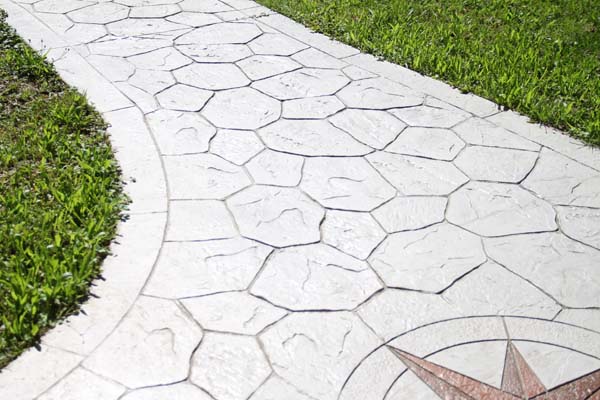
Stamped Concrete
For textured patterns, the concrete can be stamped. This is done during the pour and finish stage. When the concrete has partially hardened, you use a stamper with texture mats to create patterns and push color into the concrete. The stamp can be rather flat, but often it is used to provide variations in color; the deeper parts of the stamp create a darker color.

Some patterns, such as diamonds or a checkerboard, are done with hand grinders. In this case you wait a while til the concrete gets partially hardened, 2-12 hours, then you cut into it, about a third of the way into the slab, to create the design.
The Best Advice
Fox has spent the last 10 years of his career training people to lay and finish concrete. According to him, the best advice you can get if you are starting out in concrete deco is to understand the product; read the directions, and “get to know a trustworthy supplier who really knows his stuff. A good salesman will help you out with it. There are better and better products coming out every year to make consistent concrete floors easier.”

He also advises that when starting out, you are safe if you choose Brickform, Butterfield, and Proline as they are all tried and true companies with products that can be trusted.
If you are new to working with deco concrete, Fox suggests that you find someone who has experience to help you try it out before you go on the job site. This can be tricky, though, because most concrete companies don’t spend time training people in the whole concrete process; they tend to hire inexperienced people simply to use them for the intensive labor parts of the job. But know this, he says:
“Concrete is a different animal from most types of construction. Once you start it, you can’t just stop and it can require split-second decisions.”
Concrete is very perishable, he continues, once it’s mixed, it’s only a matter of time until the chemical reaction that begins when the ingredients are mixed together leads to the concrete becoming hard and unworkable.
Common Mistakes To Avoid
• Don’t try to do too much decorative work at once. If you pour concrete and go do other deco jobs while you are waiting for it to start to set up, you may end up missing your window of time in which the concrete is the right consistency to stamp. The more you try to juggle, the more you are likely to make mistakes.
• Don’t try to pour and then stamp too much area at once. Again, some of the concrete will dry too much before you can get to it.
• Don’t try to hurry the job up by power washing the concrete too soon or you will destroy the finish. The same thing will happen if you use the wrong tip on the power washer or you spray it too close to the concrete. RB
Radiant Floor Heating Tips & Tricks

If you are building a project with a cement slab including living and/or work space the owners are going to want radiant heat. Scott Patton of Indiana Warm Floors has tips and tricks for installing radiant floor heating.
• Make all the circuits in the floor the same length. If there is 250 feet to cover, then make five of 50 feet each. The water in the system will take the path of least resistance so you can end up with hot and cold spots in the room otherwise.
• A CAD drawing is helpful in showing the installer where to lay the PEX. Be sure to use oxygen barrier PEX to prevent rusting.
• Put foam down first, then mark out where pipes go. Staple them down so they are perfectly lined up.
• Don’t make a circuit too long. If you take a 1000-foot roll and try to use it at that length, the water is going to lose heat; it will be too hard for the manifold to pump it out fast enough.
• Build the system with an isolation flange for each pump. It just takes a minute to change it out if there is a problem, but without that flange you will need to reflush the entire system to get the air out and get it working again.
• Use deionized water with the proper chemicals (top of the line glycol and pump lubricants) to treat it, otherwise the system can end up with things growing in it. If the water becomes acidic, it will become corrosive and can eat into the system components.